A salutation is a text module for a response. Salutations can be linked to one or more queues, as described in the section about queues. A salutation is used only if a ticket from a queue the salutation is linked to, is answered. To manage the different salutations of your system, use the "Salutations" link of the admin area (see Figure below).
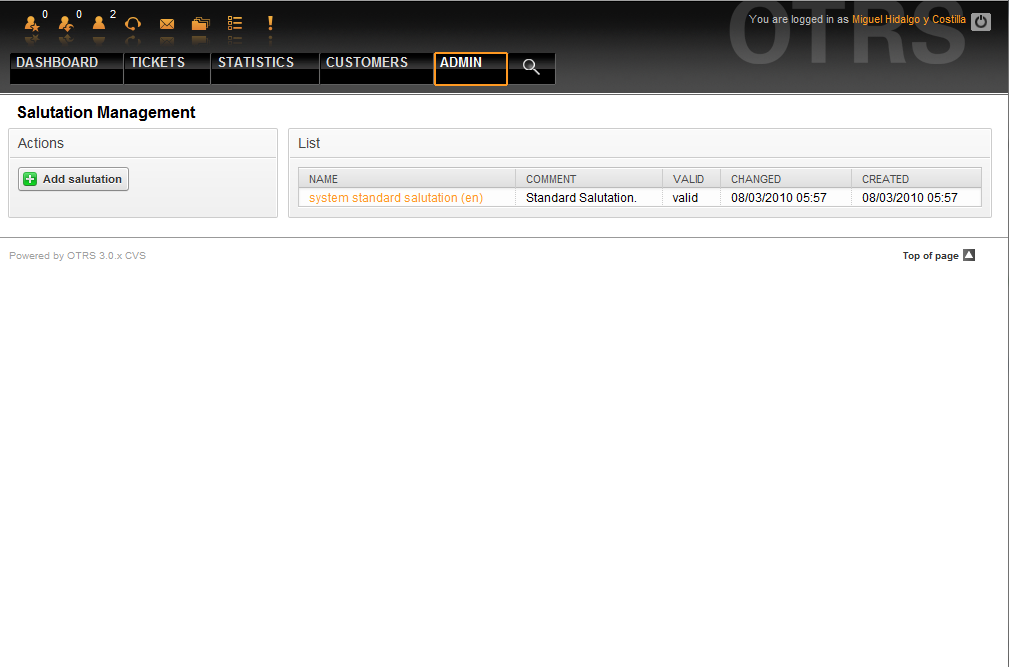
Figure: Salutation management.
After a default installation there is already one salutation available, "system standard salutation (en)".
To create a new salutation, press the button "Add salutation", provide the needed data and submit it (see Figure below).
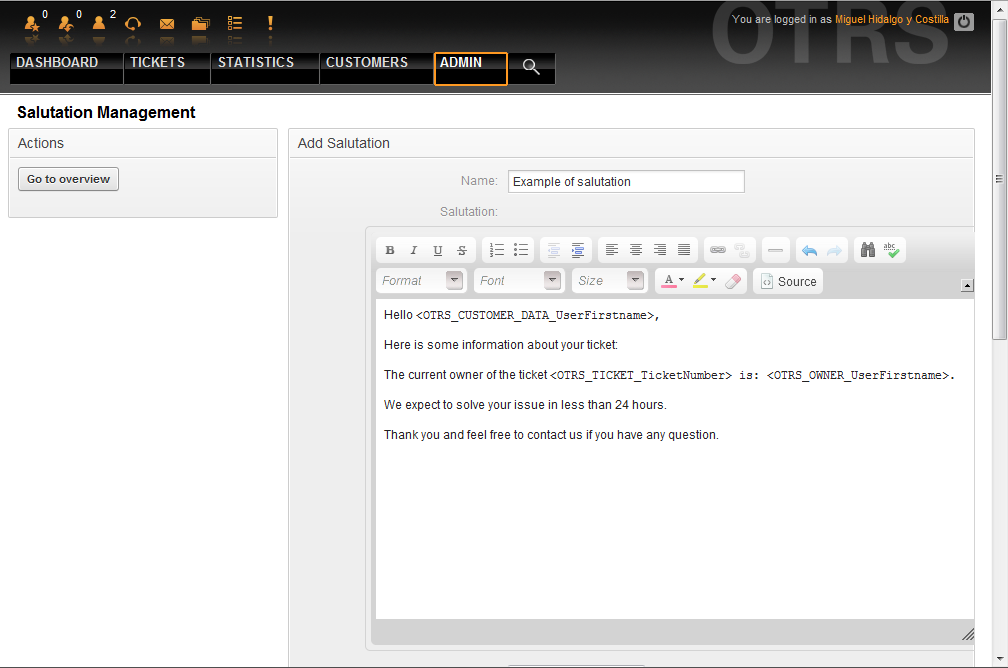
Figure: Adding a new salutation.
It is possible to use variables in salutations. When you respond to a ticket, the variable names will be replaced by their values.
The different variables you can use in responses are listed in the lower part of the salutation screen. If you use, for example, the variable <OTRS_LAST_NAME> the last name of the ticket's sender will be included in your reply.
Note
As with other OTRS entities, salutations cannot be deleted, only deactivated by setting the Valid option to invalid or invalid-temporarily.
Another text module for a response is the signature. Signatures can be linked to a queue, as described in the section about the queues. Only if a signature is linked to a queue will it be included into the response text. Through the "Signatures" link of the Admin page, you can manage the signatures in your system (see Figure below).
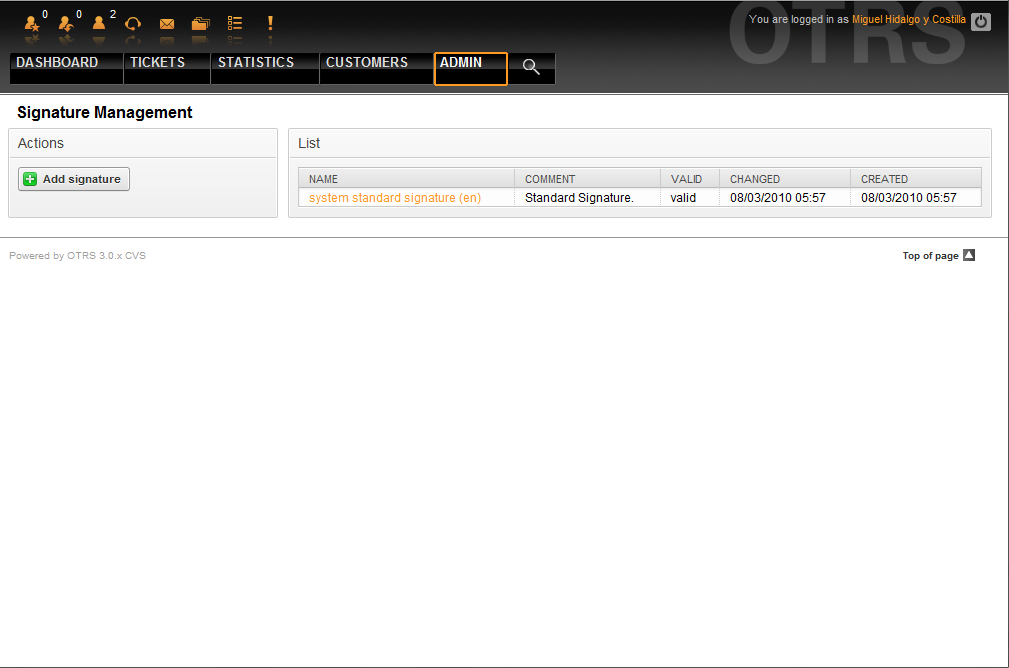
Figure: Signatures management.
After a fresh installation of OTRS, there is one predefined signature stored in your system, "system standard signature (en)".
To create a new signature, press the button "Add signature", provide the needed data and submit it (see Figure below).
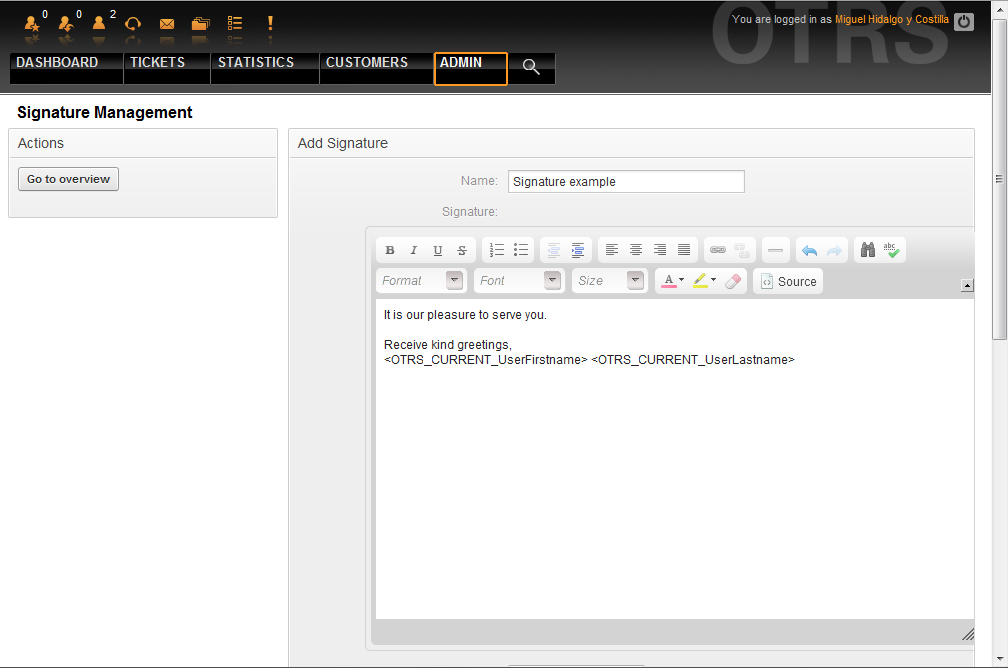
Figure: Adding a new signature.
Like salutations, signatures can also contain dynamical content, such as the first and last name of the agent who answers the ticket. Here too, variables can be used to replace the content of the signature text for every ticket. See the lower part of the signatures screen for the variables which can be used. If you include the variable <OTRS_LAST_NAME> in a signature for example, the last name of the agent who answers the ticket will replace the variable.
Note
As with salutations, signatures too cannot be deleted, only deactivated by setting the Valid option to invalid or invalid-temporarily.
You can also optionally add one or more attachments for a response. If the response is selected, the attachments will be attached to the message composition window. If necessary, the agent can remove the attachment from an individual response before sending it to the customer.
Through the "Attachment" link of the Admin page, you can load the attachments into the database of the system (see Figure below).
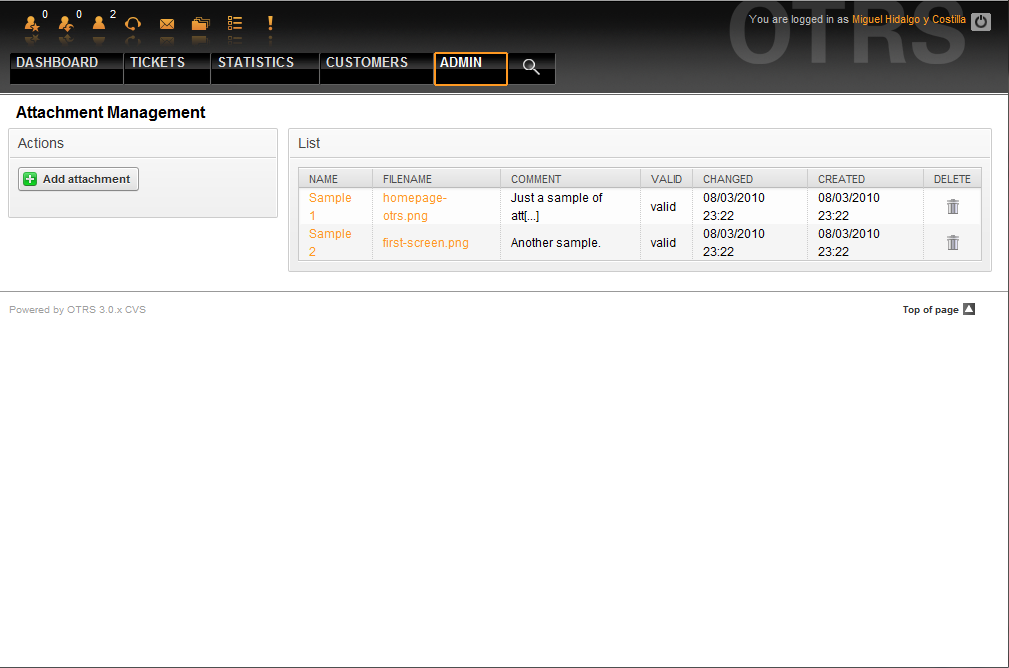
Figure: Attachments management.
To create a new attachment, press the button "Add attachment", provide the needed data and submit it (see Figure below).
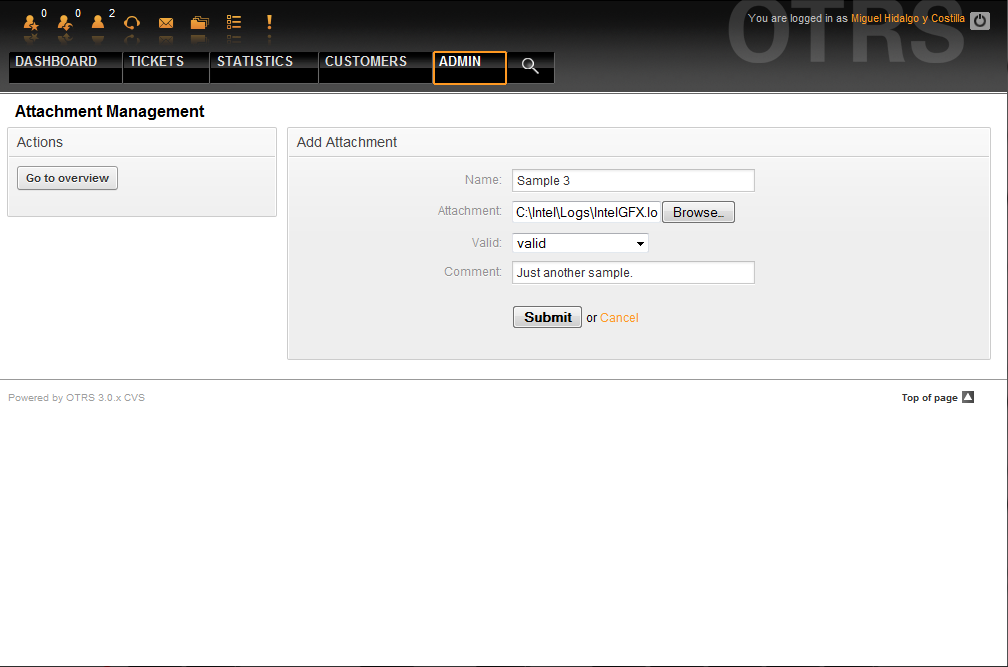
Figure: Adding a new attachment.
If an attachment is stored it can be linked to one or more responses. Click on the "Attachment <-> Responses" link of the Admin page (see Figure below).
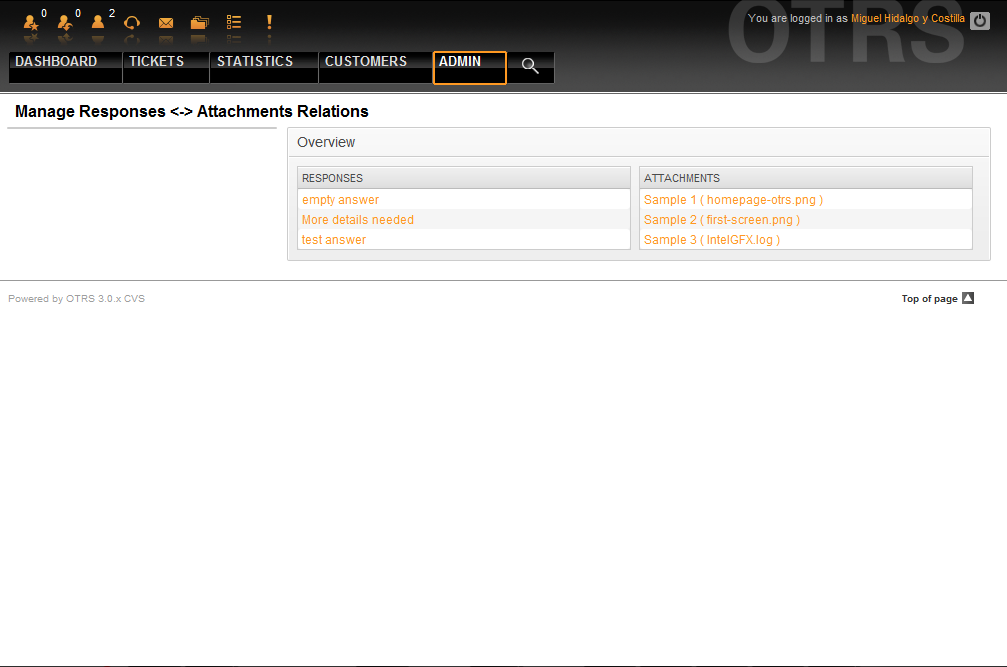
Figure: Linking Attachments to Responses.
To associate different attachments with a specific response and vice versa, click on the corresponding response name or attachment (see below the Figures 5.27 and 5.28, respectively).
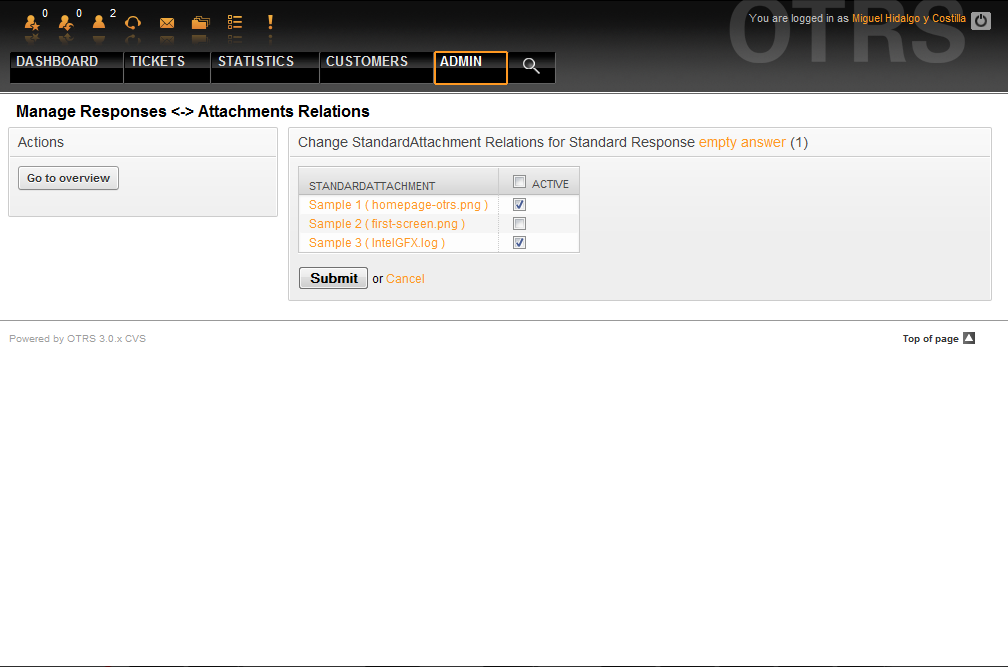
Figure: Change Attachment relations for a Response.
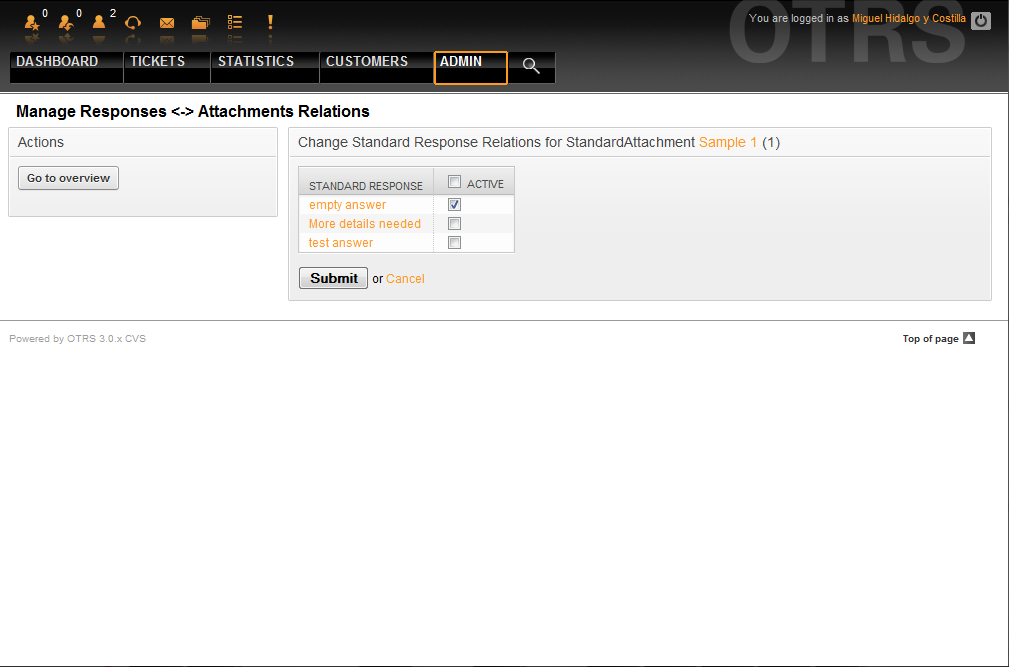
Figure: Change Response relations for an Attachment.
To speed up the answering of tickets and to standardize the look of answers, you can define responses in OTRS. A response can be linked to one or more queues and vice versa. In order to be able to use a response quickly, the different responses are displayed below every ticket in the QueueView or in "My Queues".
On a fresh OTRS installation, the "empty answer" response is defined for every queue. Clicking the "Responses" link on the Admin page brings you to the Responses management page (see Figure below).
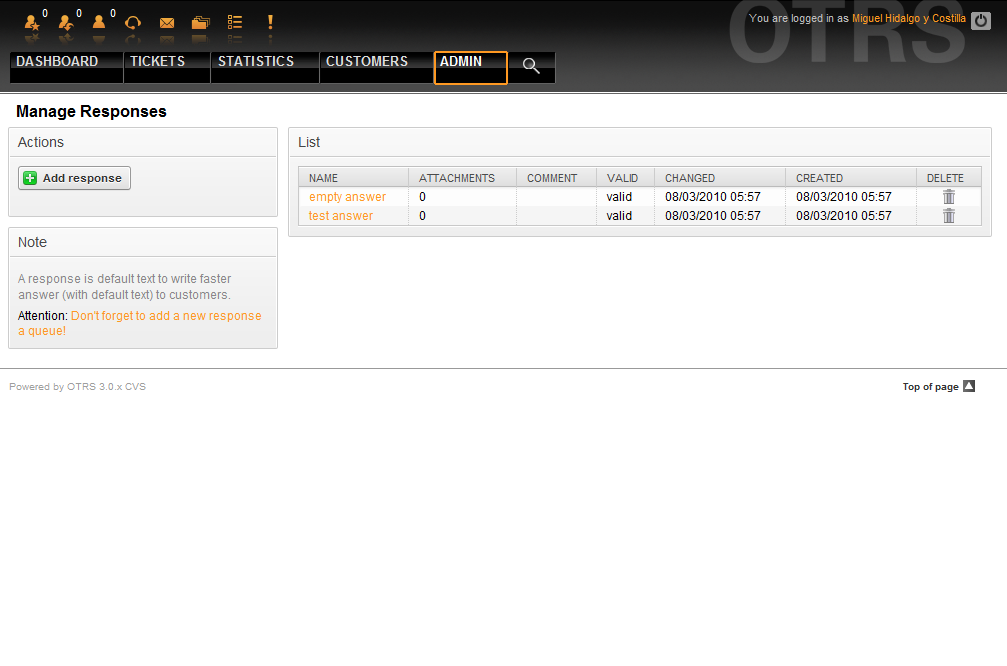
Figure: Responses management.
To create a new response, click on the "Add response" button, provide the required data and submit it (see Figure below).
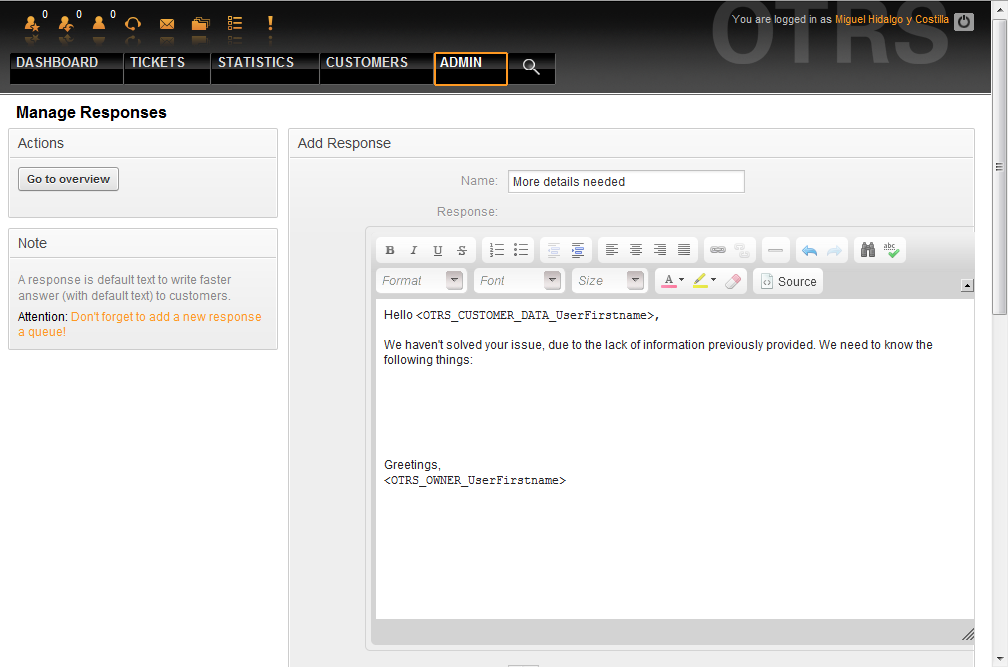
Figure: Adding a response.
To add/remove responses to one or more queues, click on the "Responses <-> Queues" link on the Admin page (see Figure below). You can also use filters to get information on a specific entity.

Figure: Response-Queue relations management.
To define the different responses that will be available for a queue and vice versa, click on the corresponding response or queue (see below the Figures 5.32 and 5.33, respectively).
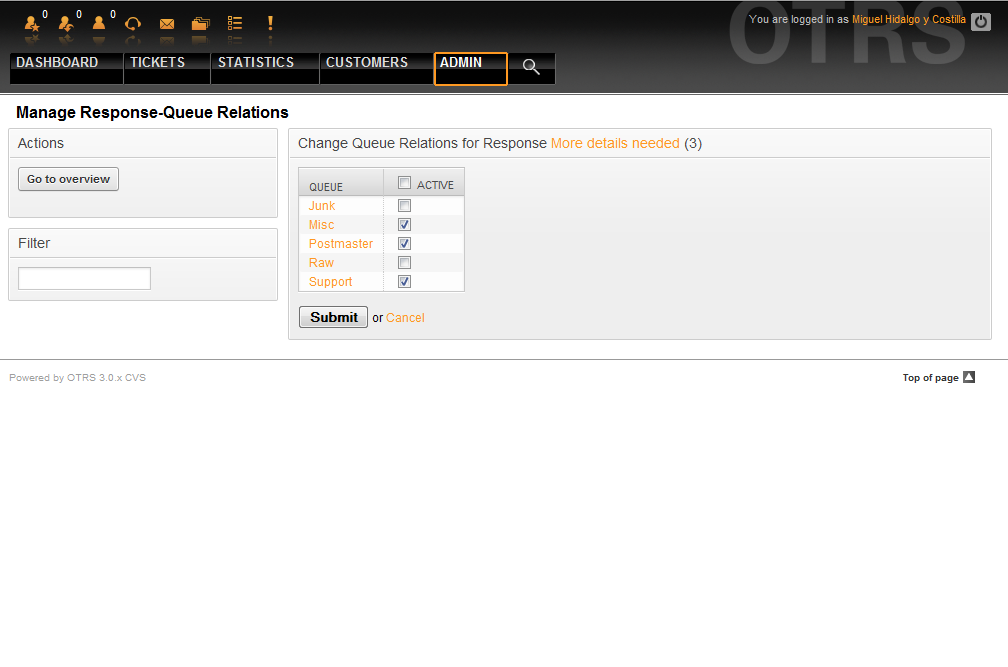
Figure: Change Queue relations for a Response.
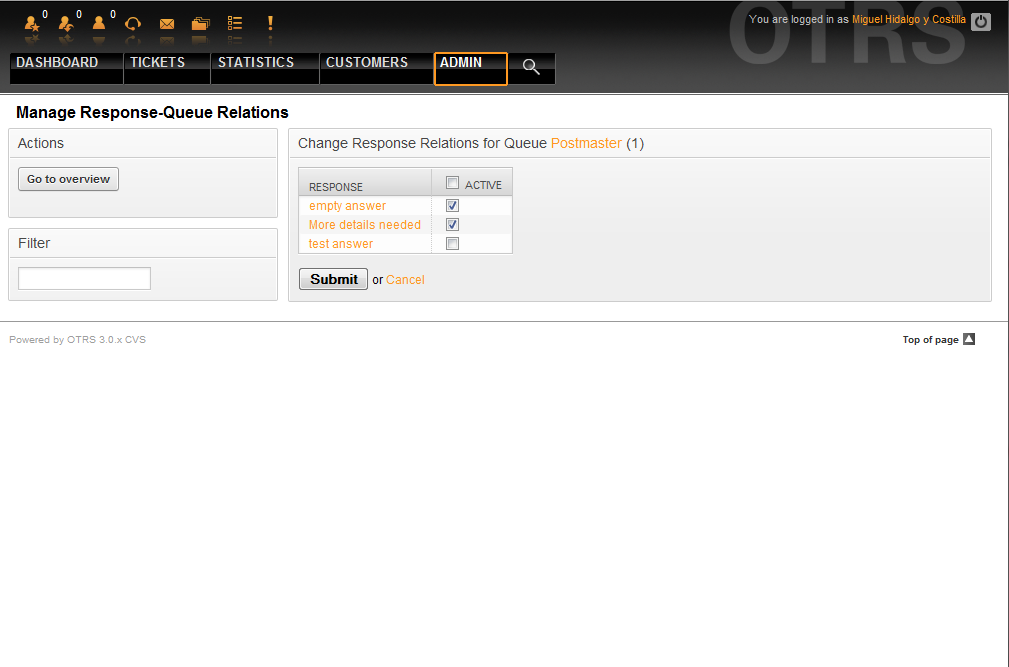
Figure: Change Response relations for a Queue.
The structure of a response is intuitive. It includes the salutation associated with the queue, then the text of the response, then the quoted ticket text, and finally the signature associated with the queue.